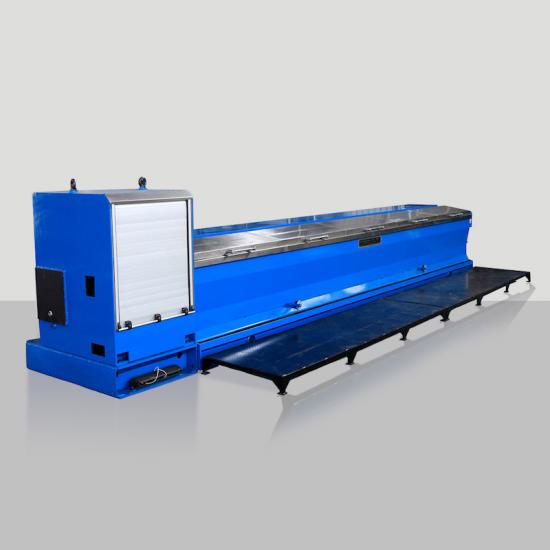
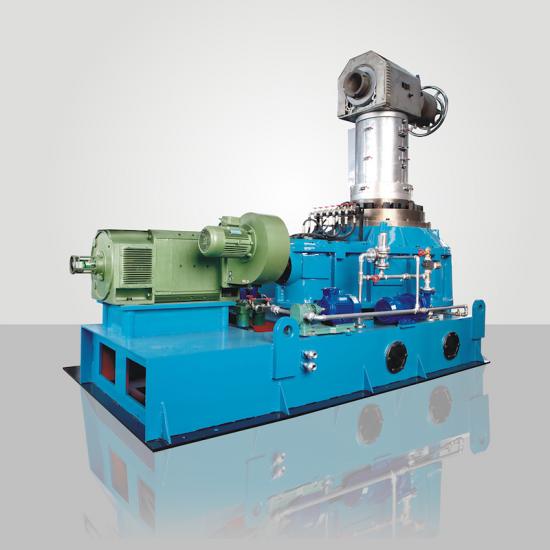
Maintenance and cleaning instructions for Continuous lead extruder
1. After half a year of normal operation of the equipment, the host should be cleaned and inspected, because a small amount of oxide will adhere to the screw. Try to squeeze out the lead in the fuselage and lead pipe before the equipment is inspected and cleaned. For this reason, the lead valve should be closed in advance to allow the lead extruder to continue to run until the main motor and cooling water pump are turned off when there is no lead extruding.
2. Around 50℃.
3. Cut off the heating power of the lead pipeline, remove the insulation cover, electric heating element, and remove the lead pipe (the short pipe connected to the fuselage remains on the fuselage).
4. Cut off the heating power of the body and remove the heat insulation cover.
5. When removing the mold base and lifting the mold base, prevent the sealing ring between the mold base and the body from being damaged. When sticking together, put a jack on each end of the lower part of the mold base to evenly improve the detachment. If the seal ring and the lead extrusion machine head are stuck together, the lead stuck in the gap can be melted by a blowtorch.
6. Remove the electrical wiring, water pipes, and thermocouples from the fuselage, remove the flange bolts at the bottom of the fuselage, install lifting ring screws on the flange holes on the upper fuselage, and then lift the fuselage with a manual hoist. To ensure that the lifting center is consistent with the center of the fuselage, lift slowly. When the lifting height is 20mm, check whether the screws are stuck to the fuselage and then pull them out together. If they are stuck together, reconnect the heating power of the third and sixth zones to melt the remaining lead. Break away.
The sundries on the thrust bearing cover should be removed before the screw is lifted, so as to avoid dirt entering the bearing when the bearing cover is removed. After removing the bearing cap, replace the grease used on the bolts.
Clean the fuselage with a wire brush. The screw cleaning is performed on the lathe. Clean it with a wire brush first, then polish it with a cloth reel. After cleaning, the lead extrusion machine should be placed vertically, and the screw should also be placed vertically. When laying it flat, use a wooden block to level it, and do not deform the screw.
It is strictly forbidden to use blowtorches when cleaning the body and screw.
7. Check the sealing ring, if it is damaged or deformed, it must be replaced if it does not meet the tolerance requirements.
8. When installing, the Lead Wire Extruder head should be kept level and slowly lowered to prevent damage to the sealing ring. Before the machine head is installed on the fuselage, all the screw holes should be coated with molybdenum disulfide grease. The bolts should be tightened with even force. Use the symmetrical tightening method. The bolt tightening is the same.
9. Clean the conveying pipeline and install it, and then install the electric heating element. All fastening bolts should be coated with molybdenum disulfide grease.
10. Install various heat preservation elements, water and electric conduits and wires.
11. Reheat the head and body, turn on the main motor, and make the screw speed
12. At 5r/min, when the temperature of each zone reaches the specified value, open the lead valve to make the lead liquid enter the lead extrusion machine when the screw is running.
categories
recent posts
scan to wechat: